In this blog you can find the work I did on how to edit with multiple cameras. My group filmed the footage, but I edited it together. My teacher provided a template for the blog post.
Multicam Editing
In my own terms, multicam editing can be defined as combining or compiling multiple camera angles, shots, and footages of an object or subject into one single video that has multiple shots taken from different angles; the general example for this can be seen in Montage editing. The purpose of doing this is to show a dynamic and more eye-catching videos taken from multiple angles, instead of boring static angle that may discourage/disengage audience with the scene.
Shooting Process
Firstly, our teacher picked one of our friend (Louis in this video) as our subject for the multicam editing. He asked him to make any movement while we as a class record him in different angles and positions to add variations into our clips and stockshoots. Then, our teacher yelled "rolling...camera..actions!" in order to timed our recording to be perfectly or atleast at the same time we hit the record button. After that, we shared our raw clips to our own groups, which we will be editing the clips with our own creativity and our liking later on.
(BEHIND THE SCENES IMAGES): LINK HERE
Here are the raw videos from my group members:
1. Haresha's raw video
2. Ata's raw video
3. Nathan's raw video
https://youtu.be/Pn8qkHtrEcc
My editing process
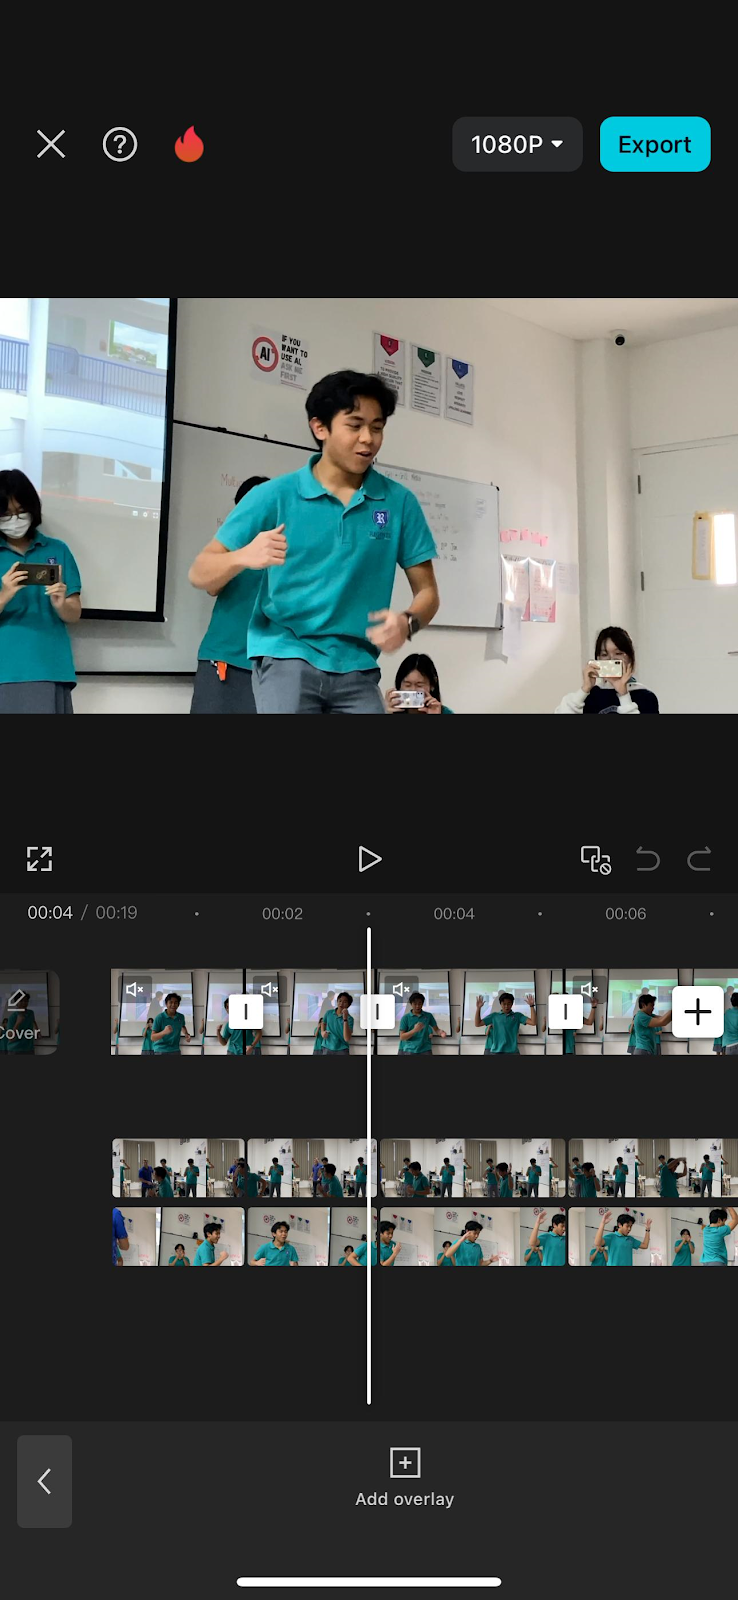
Upload the videos to the editing software (CAPCUT)
Detach the audio of the clip you wish to use in the final video.
Find the ‘clap’ marker on the audio.
Line up the video files together.
Cut where I want the edit to happen
Don’t delete the clip, just lower the opacity. This way it can be used again later.
Mute all clips except for the one you want to use.


No comments:
Post a Comment